Accessing your Raspberry Pi remotely via VNC from a Windows computer can be a game-changer for tech enthusiasts and professionals alike. Whether you're managing servers, running IoT projects, or simply tinkering with your Pi, this guide will walk you through the process step-by-step. So, buckle up, because we’re diving deep into the world of remote connections.
Picture this: You're chilling at home, sipping coffee, and suddenly you need to check something on your Raspberry Pi that's miles away. What do you do? Well, with the power of VNC (Virtual Network Computing), you don’t have to panic. VNC lets you control your Pi as if you're sitting right in front of it. It's like having a remote control for your Pi, but way cooler.
This guide isn’t just another tech tutorial; it’s a comprehensive walkthrough designed to make even the most complex steps feel like second nature. We’ll cover everything from setting up VNC on your Raspberry Pi to configuring your Windows machine for seamless access. By the end of this, you’ll be a pro at accessing your Pi over the internet.
Read also:Ezra Klein The Voice Of Modern Political Analysis
Why Use Raspberry Pi VNC Over the Internet?
Before we dive into the how-to, let’s talk about why you’d want to use VNC in the first place. VNC is more than just a tool; it’s a solution to many problems. Here are a few reasons why VNC is worth your time:
- Remote Access: Control your Raspberry Pi from anywhere in the world.
- No Physical Monitor Needed: Save space and resources by not needing a monitor for your Pi.
- Efficient Workflow: Streamline your projects by managing multiple Pis from a single computer.
- Flexibility: Work on your projects even when you're not physically near your Pi.
Now that you know why VNC is awesome, let’s move on to the nitty-gritty of setting it up.
Prerequisites for Accessing Raspberry Pi VNC
Before you start configuring VNC, make sure you have the following:
- A Raspberry Pi with Raspbian OS installed.
- A stable internet connection on both your Pi and Windows computer.
- Basic knowledge of networking concepts (don’t worry if you’re a noob; we’ll explain everything).
- A VNC client installed on your Windows machine.
Having these prerequisites in place will make the setup process smoother. Trust me, you don’t want to be halfway through and realize you forgot something important.
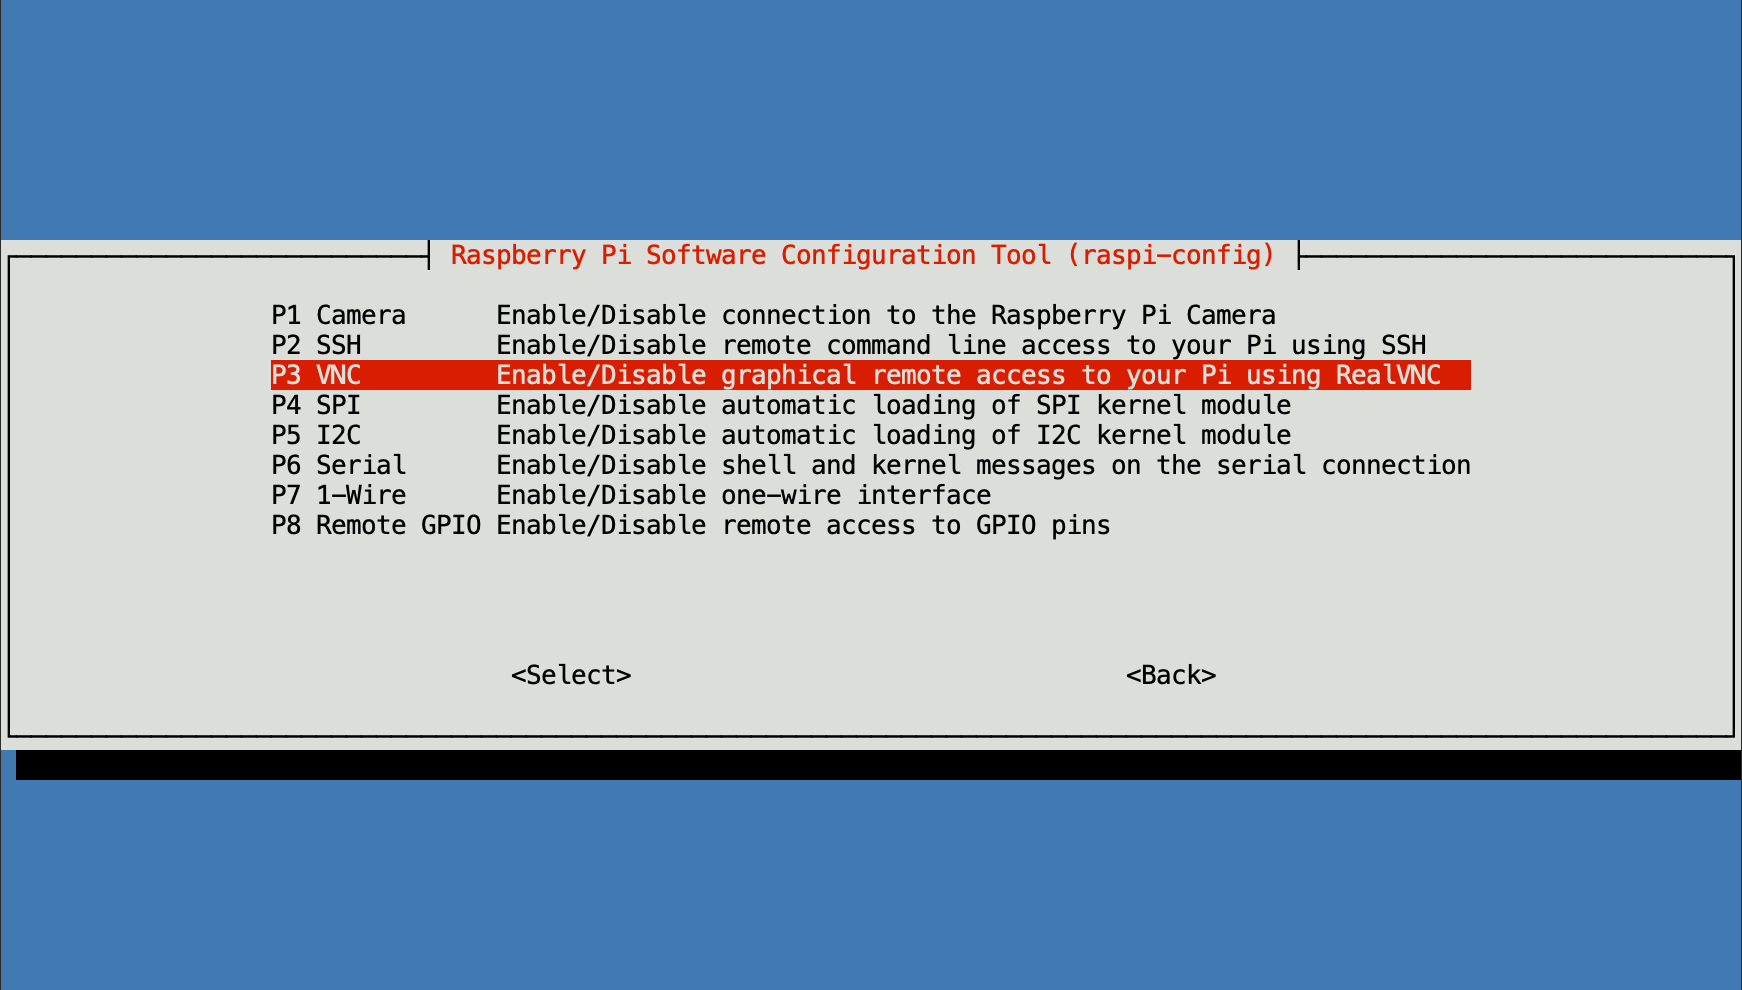
Step 1: Enable VNC on Your Raspberry Pi
Let’s start with the Pi itself. Here’s how you enable VNC:
- Boot up your Raspberry Pi and log in.
- Go to the Raspberry Pi Configuration tool by typing
sudo raspi-configin the terminal. - Select Interfacing Options and navigate to VNC.
- Enable VNC and reboot your Pi.
Once VNC is enabled, your Pi is ready to accept remote connections. Easy peasy, right?
Read also:Who Is Bianca De La Garza Married To Unveiling The Love Story Behind The Spotlight
Troubleshooting VNC on Raspberry Pi
If you run into issues enabling VNC, here are a few tips:
- Make sure your Pi is connected to the internet.
- Double-check that VNC is enabled in the configuration settings.
- Try rebooting your Pi if things aren’t working as expected.
Pro tip: If you’re still stuck, Google is your best friend. Chances are someone else has faced the same issue and found a solution.
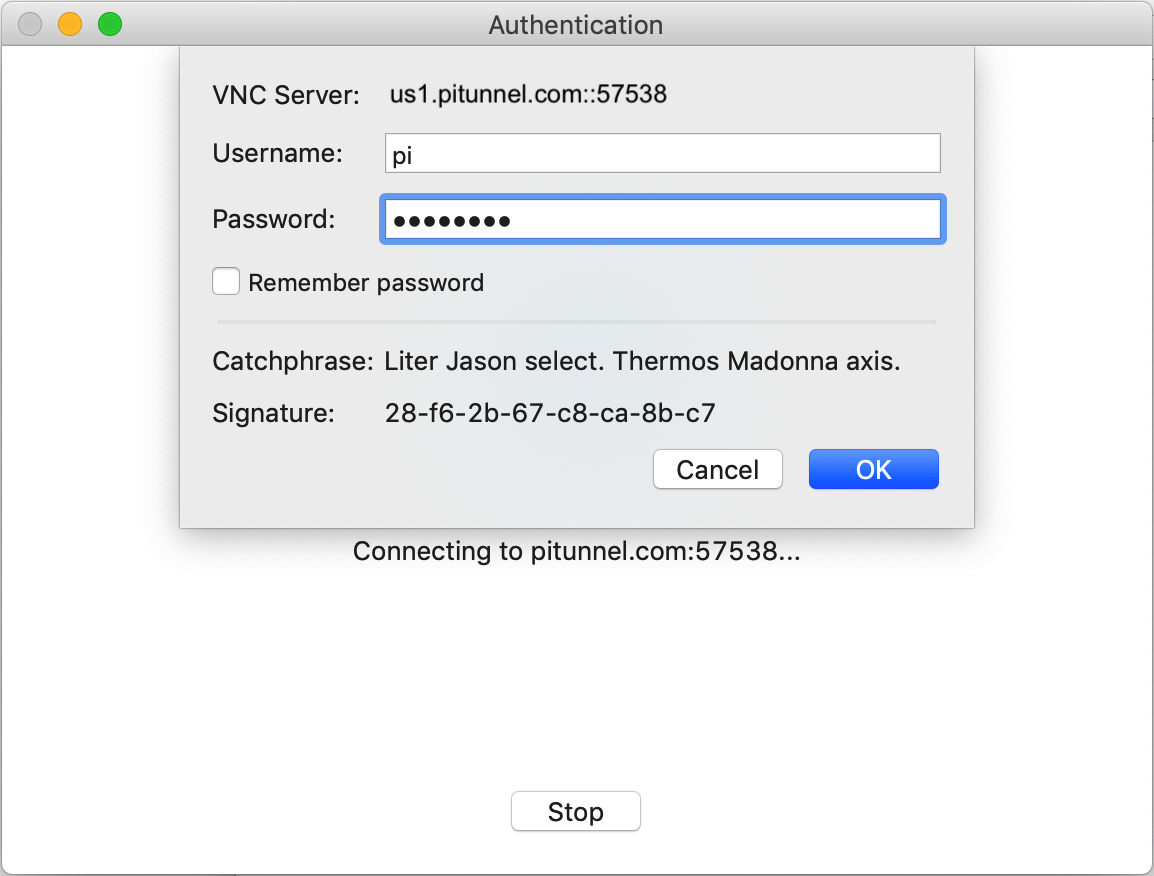
Step 2: Install a VNC Client on Windows
Now that your Pi is set up, it’s time to prepare your Windows machine. Here’s what you need to do:
- Download and install a VNC client like RealVNC or TightVNC on your Windows computer.
- Launch the VNC client and enter your Pi’s IP address or hostname.
- Log in using the same credentials you use to access your Pi directly.
With the VNC client installed, you’re one step closer to controlling your Pi remotely.
Choosing the Right VNC Client
Not all VNC clients are created equal. Here are a few popular options:
- RealVNC: The official VNC client from the creators of VNC. It’s reliable and feature-packed.
- TightVNC: A lightweight alternative that’s great for basic tasks.
- UltraVNC: Another solid option with additional security features.
Choose the one that best fits your needs. Personally, I’m a fan of RealVNC because it just works.
Step 3: Configure Port Forwarding on Your Router
Now comes the tricky part: setting up port forwarding on your router. This step is crucial if you want to access your Pi over the internet.
- Log in to your router’s admin interface. Usually, this is done by typing
192.168.0.1or192.168.1.1in your browser. - Find the port forwarding section and add a new rule.
- Set the external port to 5900 (the default VNC port) and the internal IP address to your Pi’s local IP.
- Save the changes and test the connection.
Port forwarding can be a bit intimidating at first, but it’s not as scary as it sounds. Just take your time and follow the steps carefully.
Common Router Issues and Solutions
Encountering issues with port forwarding? Here are a few common problems and how to fix them:
- Router Not Saving Settings: Make sure you’re saving the changes properly. Some routers require a reboot after making changes.
- Incorrect IP Address: Double-check that the internal IP address matches your Pi’s local IP.
- Port Conflict: If port 5900 is already in use, try using a different port number.
Remember, persistence is key. If something doesn’t work the first time, keep trying until you get it right.
Step 4: Secure Your VNC Connection
Security is always a priority when dealing with remote access. Here’s how you can secure your VNC connection:
- Use strong passwords for your Pi and VNC client.
- Enable encryption in your VNC settings.
- Consider using a VPN for added security.
By taking these precautions, you’ll ensure that your Pi remains safe from unauthorized access.
Best Practices for VNC Security
Here are a few additional tips to keep your VNC setup secure:
- Regularly update your Pi’s software and firmware.
- Limit access to trusted devices and networks.
- Monitor your VNC connections for suspicious activity.
Security might seem like an afterthought, but it’s something you should always keep in mind.
Step 5: Testing Your VNC Connection
Now that everything is set up, it’s time to test your VNC connection. Here’s what you need to do:
- Open your VNC client on your Windows machine.
- Enter your Pi’s external IP address or hostname.
- Log in using your Pi’s credentials.
- Voilà! You should now see your Pi’s desktop on your Windows screen.
If everything works as expected, congratulations! You’ve successfully set up VNC access for your Raspberry Pi.
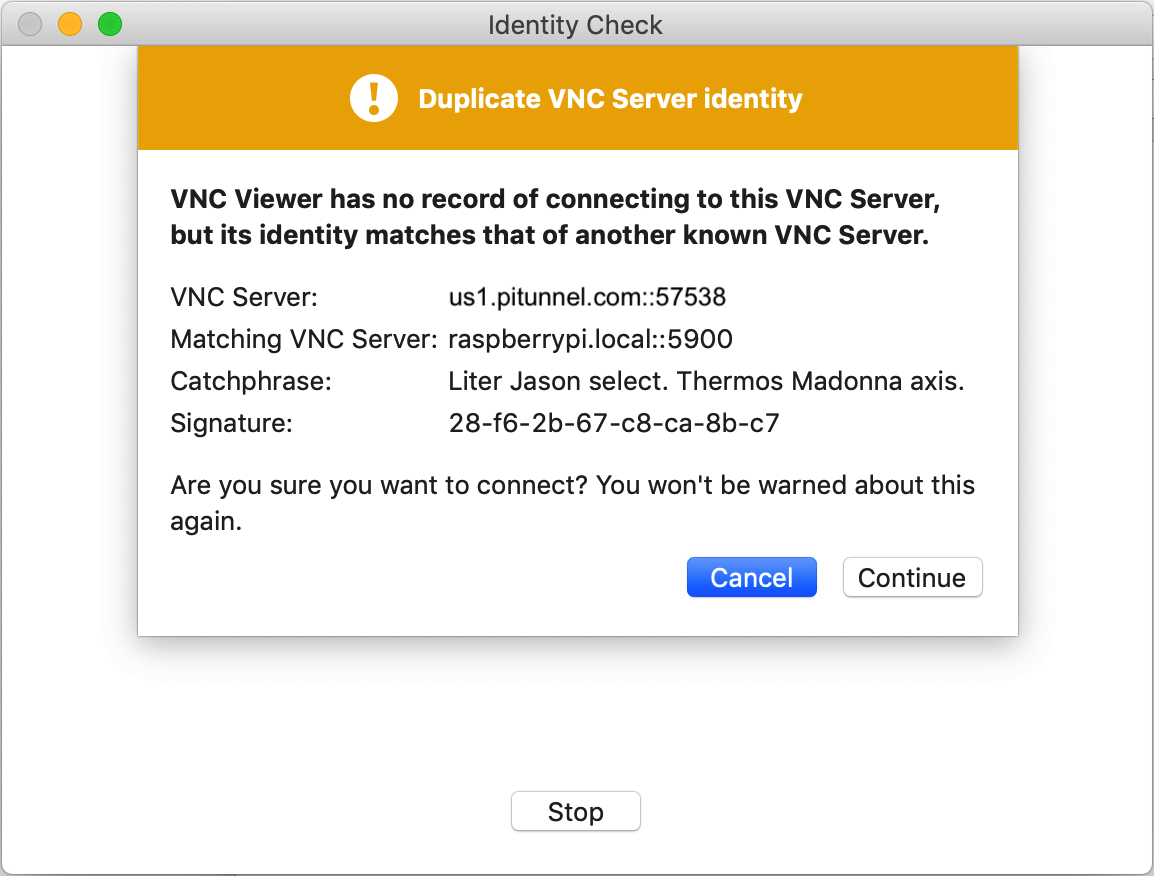
Troubleshooting Common VNC Issues
Encountering problems during testing? Here are a few common issues and solutions:
- Connection Refused: Check your router’s port forwarding settings and ensure VNC is enabled on your Pi.
- Authentication Failed: Double-check your login credentials and make sure they match.
- Slow Connection: Optimize your VNC settings for better performance.
Don’t get discouraged if things don’t work perfectly the first time. Every setup is unique, and sometimes it takes a bit of troubleshooting to get everything running smoothly.
Advanced Tips for VNC Users
Once you’ve mastered the basics, here are a few advanced tips to take your VNC skills to the next level:
- Set up a dynamic DNS service to make accessing your Pi easier.
- Use SSH tunneling for added security when accessing your Pi over the internet.
- Automate tasks on your Pi using scripts triggered remotely via VNC.
These tips will help you get the most out of your VNC setup and make your life as a Raspberry Pi enthusiast even more awesome.
Exploring VNC Alternatives
While VNC is a great tool, it’s not the only option for remote access. Here are a few alternatives worth considering:
- TeamViewer: A user-friendly option with a lot of features.
- AnyDesk: Another solid choice with excellent performance.
- SSH: A command-line alternative that’s perfect for power users.
Ultimately, the best tool for you depends on your specific needs and preferences.
Conclusion: Mastering Raspberry Pi VNC Access
Accessing your Raspberry Pi remotely via VNC is a powerful skill that opens up a world of possibilities. From managing servers to running IoT projects, VNC makes it easy to control your Pi from anywhere in the world.
By following this guide, you’ve learned how to set up VNC on your Raspberry Pi, configure your Windows machine, and secure your connection. You’ve also explored advanced tips and alternatives to take your skills to the next level.
Now it’s your turn to take action. Try out what you’ve learned and see how VNC can transform the way you work with your Raspberry Pi. And don’t forget to leave a comment or share this article if you found it helpful. Happy tinkering!
Table of Contents
- Why Use Raspberry Pi VNC Over the Internet?
- Prerequisites for Accessing Raspberry Pi VNC
- Step 1: Enable VNC on Your Raspberry Pi
- Step 2: Install a VNC Client on Windows
- Step 3: Configure Port Forwarding on Your Router
- Step 4: Secure Your VNC Connection
- Step 5: Testing Your VNC Connection
- Advanced Tips for VNC Users
- Exploring VNC Alternatives
- Conclusion: Mastering Raspberry Pi VNC Access